Categories
Statistics
Since 08.08.2014
Counts only, if "DNT = disabled".
Your IP is 18.221.240.14
ec2-18-221-240-14.us-east-2.
Counts only, if "DNT = disabled".
Your IP is 18.221.240.14
ec2-18-221-240-14.us-east-2.
Info
เราจะทำแบบวิศวกรผู้ยิ่งใหญ่
25. December 2024
YOU RATED THIS ...
avg = 0.0 , n = 0


DIY-FrontPanelProduction.php 8931 Bytes 19-06-2024 08:33:21
Make your own Frontpanel
With Gedakop® and a more or less luxurious milling machine.
Step 1 :: DESIGN
The first step is the design. Even if you want to have it in colours, the design needs to be in black (and white). For this task, any
design software is suiteable. If you need to place 'special' holes like those for a d-sub connector, a frontpanel design tool is
superior, as it may come with a large library and/or special functions to place a scale.
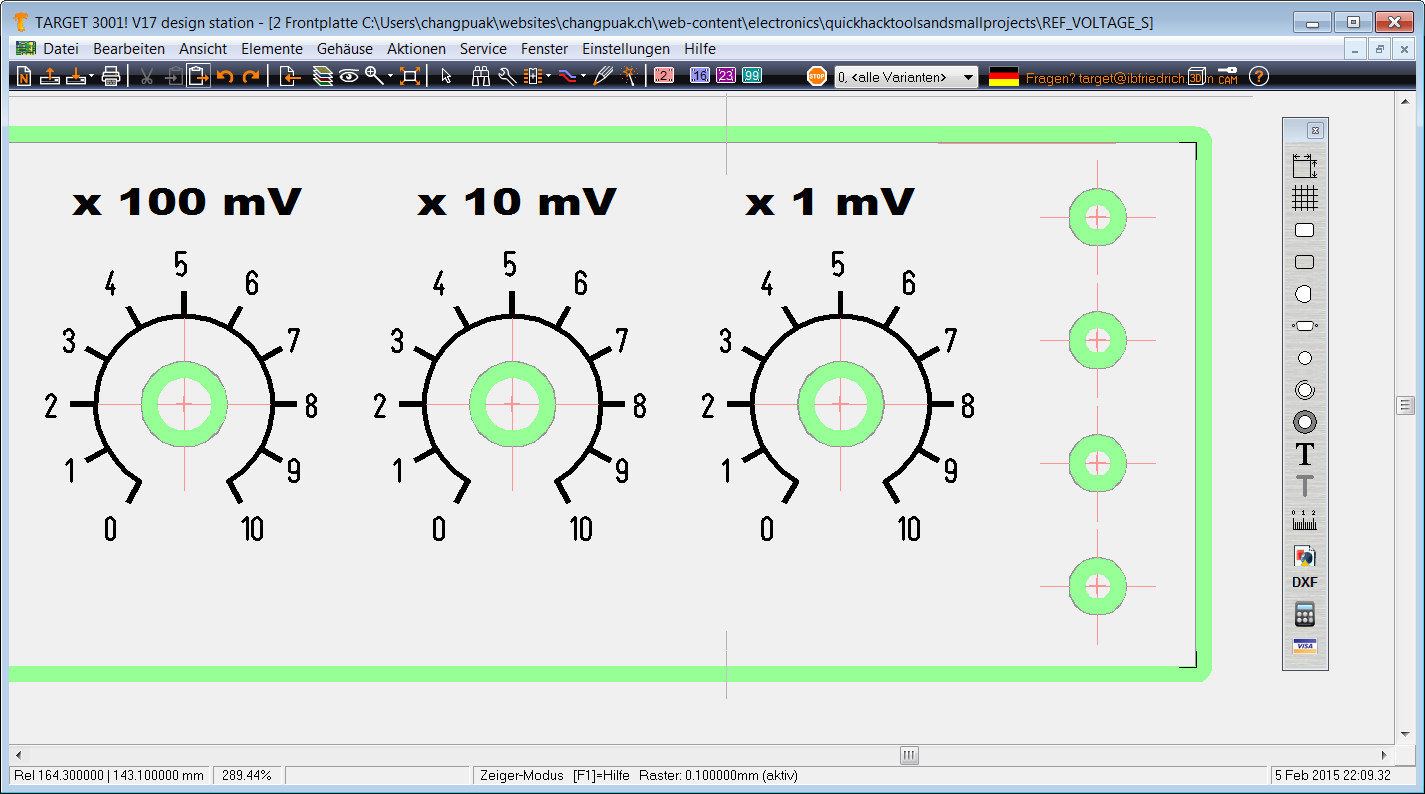
A frontpanel, beeing designed with Target3001
Another advantage of a frontpanel design tool is the possibility of generating dxf-files, which can be imported by milling machines.

A frontpanel, beeing designed with Target3001
Another advantage of a frontpanel design tool is the possibility of generating dxf-files, which can be imported by milling machines.
Step 2 :: PRINT ON TRANSPARENCY FILM
Whatever shall appear on your frontpanel should now be printed (scale 100%) in black colour on a transparency film. This step
is identical to manufacturing a pcb. Any opaque image on a transparent or translucent carrier will suffice. For enhanced
sharpness, we recommend printing it mirrored.
Step 3 :: EXPOSING WITH UV LIGHT
Now we need the Gedakop® Aluminium metal plate. Preferably 2 mm in thickness. This is coated similiar to pcb's with an
protective layer. You should work in a darkroom. Cut the metal plate approx. 10 mm larger in size. Place the metal plate in the exposure
unit and the transparency film direct on it. As with pcb's, the lines are sharper if you use a mirrored image film so that the film is in direct
contact with the photo sensitive coating. Close the cover and switch on the vacuum pressing. Check a very last time and then close the door and
start exposure. As a starting value, we recommend 60 seconds.
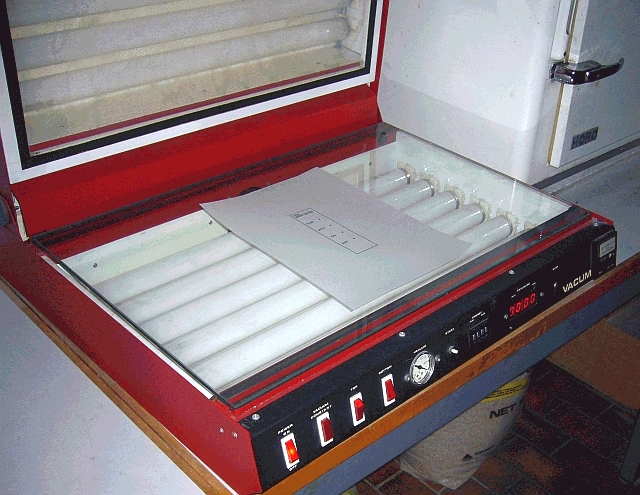
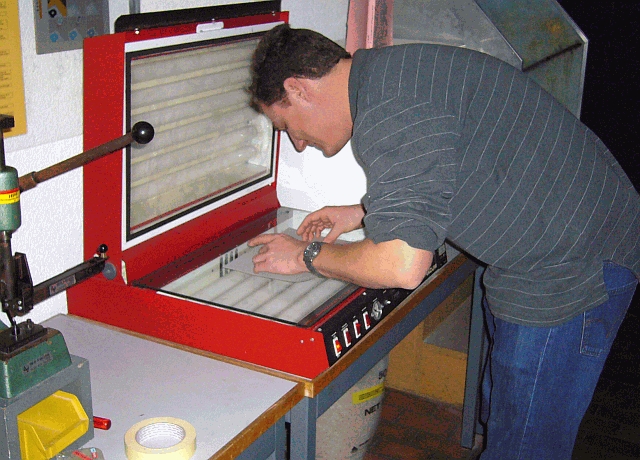
A frontpanel, in the exposure unit.


A frontpanel, in the exposure unit.
Step 4 :: DEVELOPPING
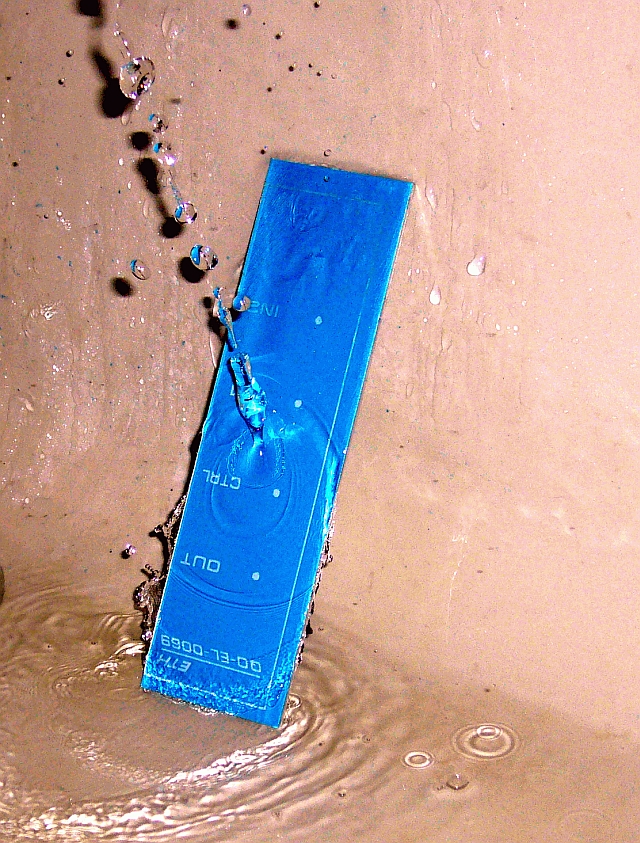
If all the coating vanished (where you placed your text and symbols), dry it with com- pressed air and then put it in the oven (approx. 60 °C) for about 15 minutes.
If it is completely dry, you are ready for the next step.
Step 5 :: APPLY COLOUR
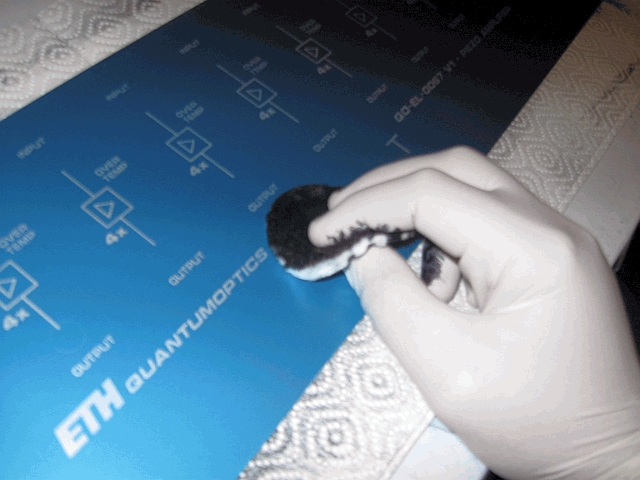
You should now wear gloves, as the colour is very adhesive. If you use more than one colour, repeat this step for every colour. Pour some drops of the colour on a cottonwool ball. Under light pressure, rub in the colour over the metal plate. Do this for 30 seconds, then let it pause for another 30 seconds. Use a piece of paper towel to remove any surplus colour from the plate. Do not pour the colour directly on the plate !!!
Step 6 :: DECOATING
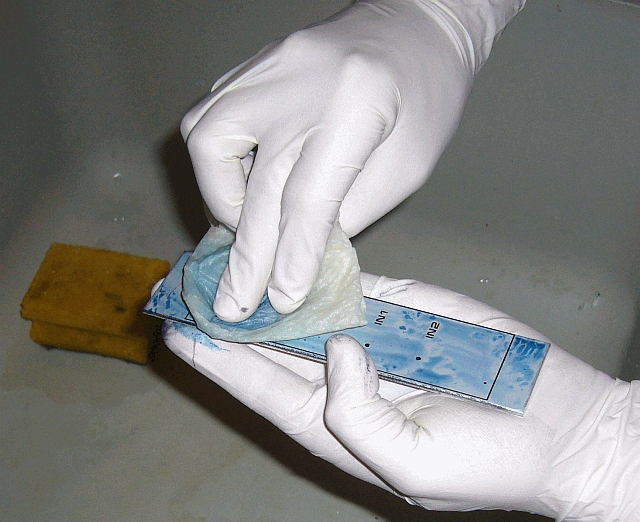
Clean the metal plate with water. You may use a cleaning sponge and apply force, when necessary.
Step 7 :: FIXING
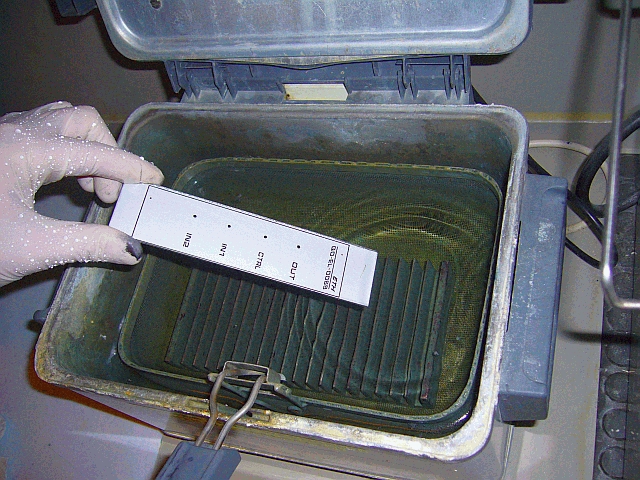
Step 8 :: PUNCHING, DRILLING, MILLING,...
Now we are almost done. Drill the holes or mill the breakouts. Almost every milling machine (so does the laser-cutting machine) may import
the dxf files you generated while designing your frontpanel. Cut the frontpanel to its final size. The video below was taken in our workshop.
✈ Share your thoughts
The webmaster does not read these comments regularely. Urgent questions should be send via email.
Ads or links to completely uncorrelated things will be removed.
Your Browser says that you allow tracking. Mayst we suggest that you check that DNT thing ?
 ช้างเผือก
